This is a post about turning this


into this:
(click to interact)Click/drag to adjust %
Continue reading⚂ This is the day
This is a post about turning this


into this:
(click to interact)Click/drag to adjust %
Continue reading
(click to interact)![]() (mouseover/click to play GIF)
Drag sliders and click things (if JS is enabled)
(mouseover/click to play GIF)
Drag sliders and click things (if JS is enabled)
draw_sprite_ext - maybe you want to apply skewing/shearing to the sprite, or scale it after rotating it, or use a 2d matrix transformation.
The built-in function isn't made for that, but, with a little bit of math and draw_sprite_pos, you can have a script for this.
Mouseover to activate, click to reposition the clipping star.
This is a tutorial about pretty much everything related to clipping drawn graphics in GameMaker.
That is, having drawn graphics only display inside a certain ("clip") area, be that a rectangle (UI regions, minimaps, etc.), circle, or a completely arbitrary shape (pictured above).
Also I'm trying new things so this post is nicely stuffed with interactive demos and snippets.
Continue reading

Time to time people come up with strange, slow-ish methods for drawing text with shadows in GameMaker. This is a tutorial about how to achieve the best effect without any of those struggles.
Continue reading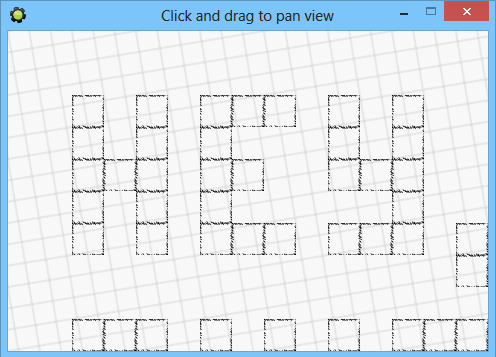 (mouseover/click to play GIF)Or check here for a non-animated illustration.
This is a post about doing the kind of "click/tap and drag to scroll" effect in GameMaker.
Commonly used across games and software alike.
Continue reading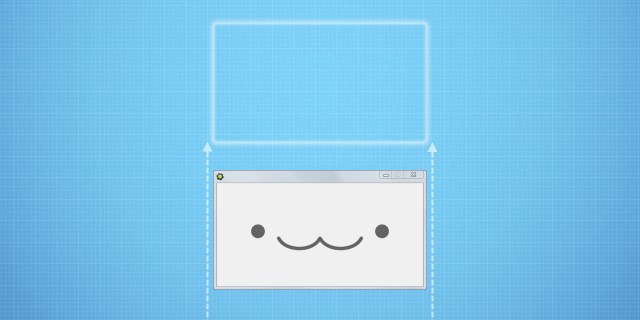
This post is about creating window sliding effect such as seen in my old program called GMConveter. Program itself was a bit of joke actually, since at the moment of it's publication the only actual difference between GM80 and GM81 formats was a version byte in file header, which GMConverter would change, making files compatible again. Not too bad of functional part for something that was downloaded over 4 thousand times over course of two years, right?
Apart from inner simplicity, it also had nice visuals, including a nice window sliding effect used on start and end of program. And that's what this article is about.
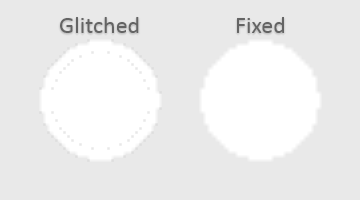
With the glitch (left) and without (right)
If you've ever tried to scale imagery (sprites / backgrounds) up while having texture (/pixel) interpolation turned on, you might have encountered some drawing artifacts. These normally look like the left part of above image, being either random black/white dots or a whole semi-transparent outline around the image. This article goes a bit in-depth about why these occur and how to fix them.
Continue reading
This is a very old example of mine actually (creation timestamp says Sep 2010), which I've recently fixed & improved at request.
It demonstrates a simple algorithm to cast shadow from instance in platformer game. So when player jumps, shadow is displayed on ground below (realism!).
For the sake of simplicity and performance, shadows are checked against bounding boxes by default. Pixel-perfect checking is added as a separate condition, requiring affected objects to be children of obj_complex.
If you're interested in how this works behind-the-scenes, here's an illustration:
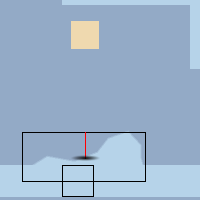
Outlined instances are ones used for finding top-most position below the player (which shadow will be cast onto). Red line is a number of point checks to indicate top-most point on objects with precise masks.
As another random visual tweak, there's a piece of code added to make shadow shrink as caster gets further from ground. A small touch, but these add up over time.

Not much of informative demonstration, but is cross-platform and shows performance.
Common solution to this problem is to create a 'cache' image that would hold a tiled version of image to be drawn easily.
That means drawing image W*H times only once in a while.
However, actually you can do even better than this.
Continue reading
If you've been working with Love2d, you might have noticed that there isn't an actual debug console, and print() calls will not get displayed anywhere.
However, it's pretty easy to make your own system to display single-line output messages.
Here is an example of one.