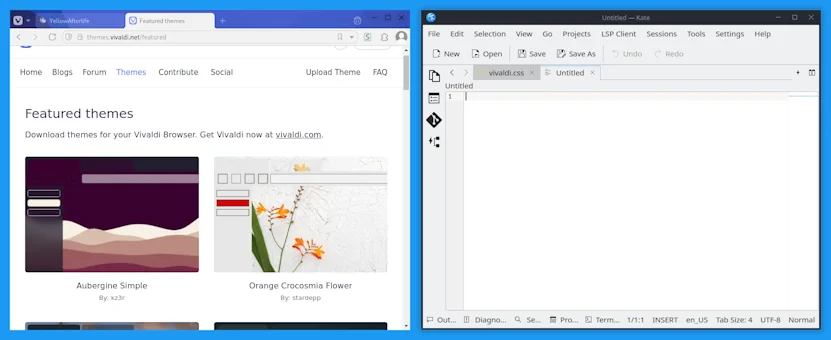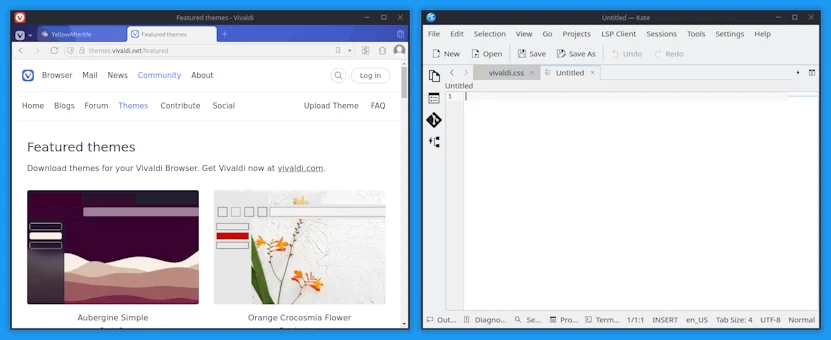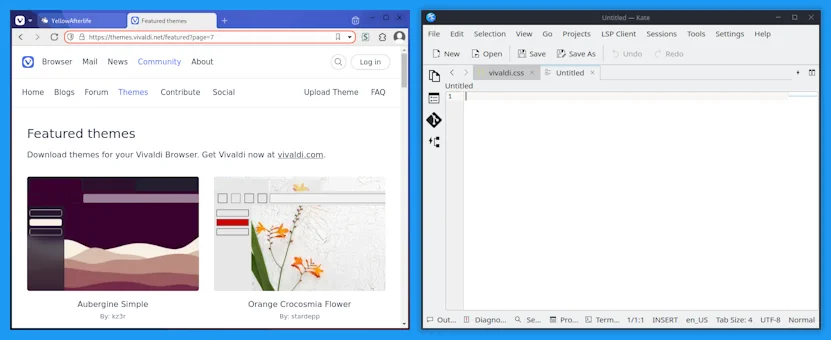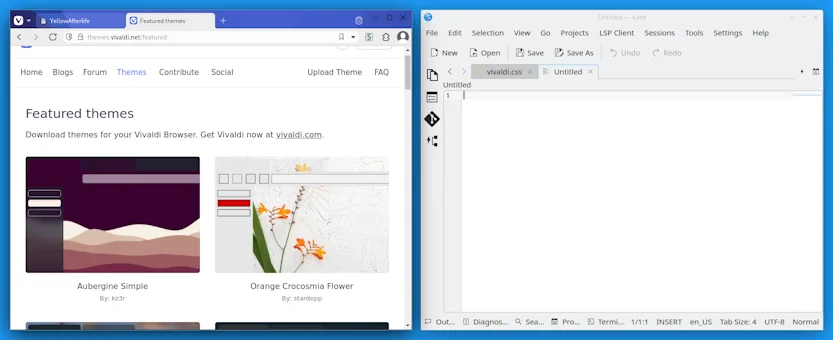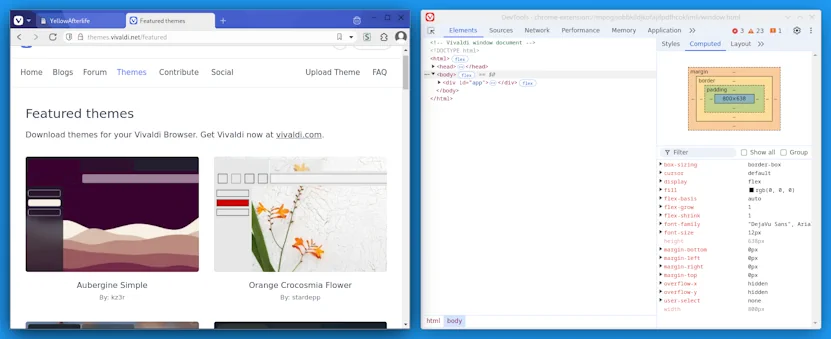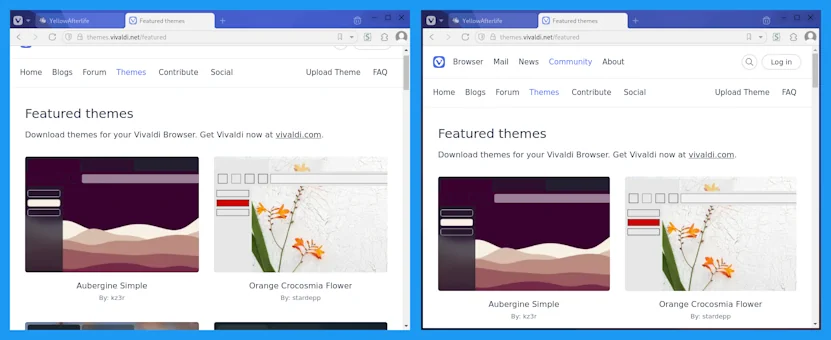
Default appearance and after tweaking
Lately I've been setting up some software in Steam Deck's desktop mode and I couldn't help but to notice that some applications (like Vivaldi or Obsidian) don't quite fit with the rest of the windows.
The problem
The underlying issue seems to be that windows with custom frames are expected to draw their borders-shadows on KDE, and not all of them do.
Perhaps that's also why the shadow on Firefox window isn't quite like the shadows on native windows.
There are a few bug reports about this on:
Curiously, this issue also briefly appeared on Windows, though for a different reason.
And what can you do about it?
Native frame
You can tick the "Use Native Window" checkbox in Settings - Appearance - Window Appearance, restart Vivaldi, and your browser will look like this:
Evidently, this also eats away vertical space, which is a luxury on both Steam Deck when an external display is not connected.
Custom frame
To do this, you'll want to set a Custom CSS directory in Settings - Appearance - Custom UI Modifications if you haven't yet.
Then you can create a new file in that directory - for example, custom-frame.css, and add the following to it:
#browser:not(.fullscreen):not(.maximized):not(.is-settingspage) {
	padding: 4px;
	padding-top: 0;
	&::before {
		content: "";
		position: absolute;
		inset: 0;
		pointer-events: none;
		background-color: transparent;
	}
	&.color-behind-tabs-on.color-accent-from-page,
	&.color-behind-tabs-on:not(.transparent-tabbar) {
		&::before {
			background-color: var(--colorAccentBg);
		}
		&.isblurred.dim-blurred::before {
			background-color: var(--colorAccentBgFaded);
		}
	}
	&:not(.color-behind-tabs-on):not(.transparent-tabbar) {
		&::before {
			background-color: var(--colorBg);
		}
		&.isblurred.dim-blurred::before {
			background-color: var(--colorBgLight);
		}
	}
	&.color-behind-tabs-on.transparent-tabbar {
		&::before {
			mix-blend-mode: multiply;
			backdrop-filter: var(--backgroundBlur);
		}
		&.tabs-top #header:before,
		&.tabs-left .tabbar-wrapper:before,
		&.tabs-right .tabbar-wrapper:before,
		&.tabs-bottom > footer:before {
			display: none;
		}
	}
}
(note: you can tweak that 4px in the beginning to better match your theme's border thickness)
And after restarting the browser, it'll have a frame!
Evidently it still is missing a shadow, but this can be good enough depending on your theme.
Adding shadows
As an opening word, I regret to inform that if you are using custom Window Decorations, they most likely don't support Per-Window Overrides that are required for this to work.
With that out the way, here are steps based on this reply. This force-enables the window frame and then force-disables the title bar and border, thus leaving you with the original Vivaldi window and a shadow around it.
Enabling the frame
- Open System Settings - Workspace - Window Management - Window Rules
- Click "Add New..."
Matching Vivaldi windows
- Click "Detect Window Properties" (bottom)
- Click on a Vivaldi window
- Select "Window class (application)"
Enabling window frames
- Click "Add property..."
- Pick "Appearance & Fixes" - "No titlebar and frame"
- Change "Apply initially" to "Force"
- Tick "No"
- Click Apply
Disabling the titlebar and borders
- Open System Settings - Appearance - Window Decorations
- Click the "Edit" button in a corner of a theme
- Switch to "Window-Specific Overrides" tab
If there isn't such a tab, try a different theme, like Breeze or Oxygen. - Click "Add" (right)
Matching Vivaldi windows (again)
- Set "Matching window property" to "Window Class Name"
- Click "Detect window properties"
- Click on a Vivaldi window
- Tick "Border size" and select "No Border"
- Tick "Hide window title bar"
- Click OK to finish adding an override and OK in the Overrides tab to apply the rule.
And with that, the window now has a shadow!
(this is with custom border width set to 1px)
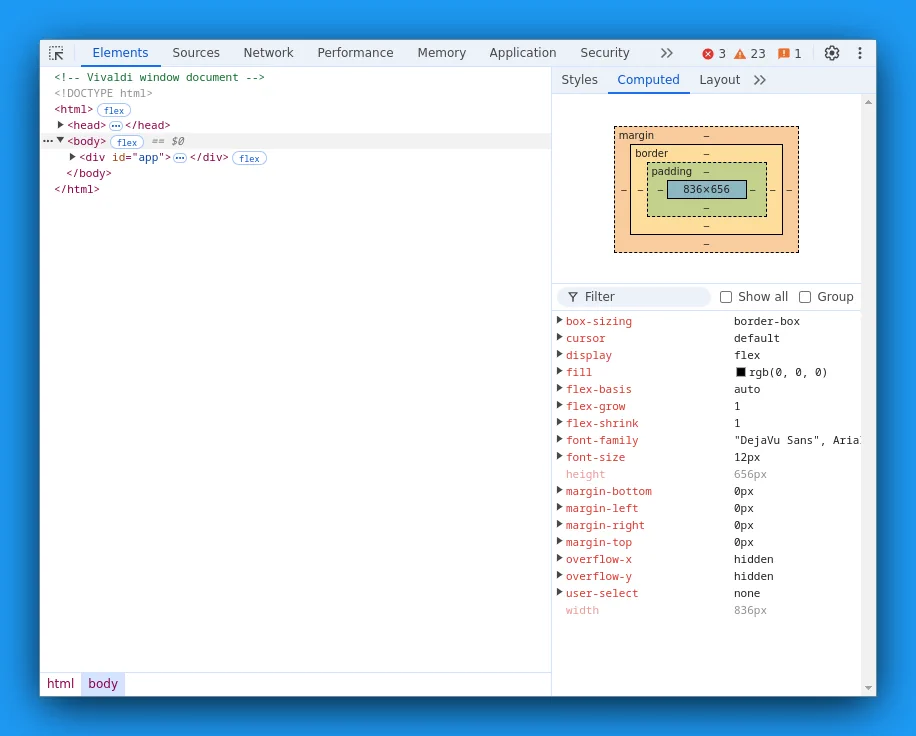
Fixing the DevTools window
And with that you might think that you're done, but not if you open DevTools in a separate window!
Fortunately, this is a fixable oversight.
- Open Window-Specific Overrides again
- Click "Add" (right)
Matching the DevTools window
- Set "Matching window property" to "Window Class Name"
- Set "Regular expression to match" to
^DevTools -
This will match window titles starting with "DevTools - "
- Click OK to finish adding an override and OK in the Overrides tab to apply the rule.
And that's about it!
